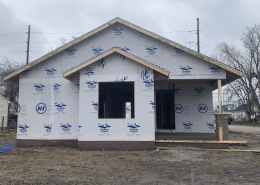
Rex Mundi Mighty Monarchs Build

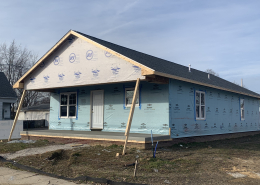
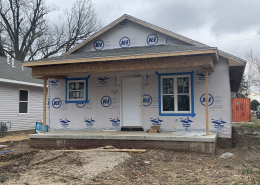
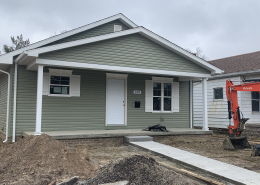
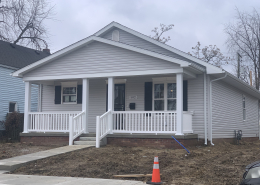
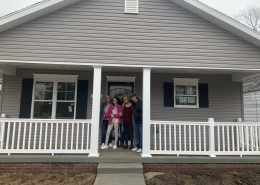
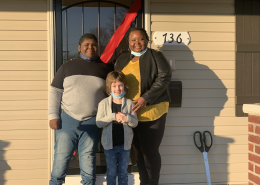
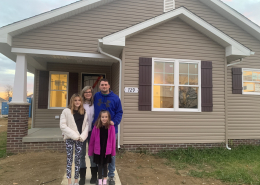
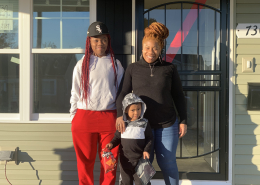
This house will be the 549th Habitat home built in the Evansville/Mt. Vernon area and the 12th built in St. Theresa Place, a 14-home Habitat subdivision.  Thank you to the Rex Mundi Might Monarchs for sponsoring this home! Now, Latisha’s family will be able to build stability, grow financial security, and establish a solid foundation for their family.

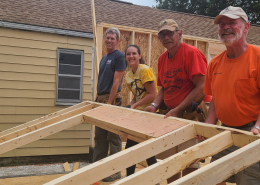
“I’ve learned a lot in the homeownership classes … from money management to setting goals for the future.  My credit score has improved, and I’ve paid off some things too!  It has been a journey, and I’ve enjoyed meeting different people.  You get to know the other Habitat future homeowners, and you are all working toward the same goal … homeownership.”

— Latisha
Donation Goal
0%
Volunteer Goal
0%
Phase Progress
0%
Latisha
  • Phase 1

    Homesite Selection

    Homeowner selects homesite from available Habitat lots. Homeowners are paired with their sponsor.

  • Phase 2

    Groundbreaking

    During the groundbreaking, the foundation is completed and the block work is laid.

  • Phase 3

    Crawl Space and Floor System

    Volunteers install moisture barrier and insulation in crawl space.

    For the floor system, the floor joists are installed, more foam insulation is filled in between joists and band boards, and OSB board is laid for the flooring. Black paper is laid on the two porches to help maintain the longevity of the home.

  • Phase 4

    Walls

    Wall Prep: Volunteers build wall components  (king jack studs, California corners, headers, etc.) and layout 2 x 4 location on the top and bottom plates of each wall.

    Wall Building: Wall components are nailed together on top and bottom plates with 2 x 4s. This is completed for both interior and exterior walls.

    Wall Raising: Volunteers raise, level, and secure the walls. Exterior walls go up first, followed by the interior.

    Trusses: OSB boards are laid on first and last trusses to attach the siding.

  • Phase 5

    Doors and Windows

    Volunteers install windows and doors.

  • Phase 6

    Internal Mechanics

    Plumbing, electric, insulation, and dry wall are installed.

  • Phase 7

    Pre-insulation

    Pre-insulation is installed on exterior walls, doors, windows, ceiling, and floors. Baffles are put in to circulate airflow.

  • Phase 8

    Painting

    Volunteers paint the walls and ceiling. Corners and edges are cut out first, then roll the ceilings, and then the walls.

  • Phase 9

    Cabinets and Appliances

    Cabinets and countertops installed.

    Later, refrigerator, stove, microwave, dishwasher, garbage disposal, and washer & dryer are installed.

  • Phase 10

    Trim Work and Flooring

    Trim around windows and doors are completed. Interior doors are also installed. Vinyl and carpet are laid.

  • Phase 11

    Exterior Concrete

    Exterior concrete parking pad and sidewalks are poured.

  • Phase 12

    Yard Prep

    The yard is prepared for grass seed sewing.

  • Phase 13

    Dedication

    Homeowner and community members come together to bless and dedicate the home, complete with a ribbon cutting.